
As of Wednesday afternoon, our coffee table is no longer topless…
Let me break down the steps for any of you who are curious – or want to paint something with chalkboard paint that probably shouldn’t be painted.
First, make sure you have a cute helper to display your supplies – Vanna style.


Don’t worry, Helena was just pretending to clean. There was no child labor or exposure to chemicals involved in this DIY project.
Ok, just one more because she is so cute!

Once Helena was out of the way napping, I began by thoroughly wiping down the glass with cleaner to remove all the crud and fingerprints.


It’s important to have clean glass so that the primer will adhere. (It’s also important to have clean glass so people will not judge you when they come over to your house.)
Next, I removed the glass and carefully carried it out to the garage where Micah had rigged up a “work table” out of empty garbage cans and some old wood. Sometimes it pays off to have junk laying around – and to have a husband who will complete feats of engineering at your request 😉

I was itching to bust out that chalkboard paint, but I rolled on a thin coat of primer first.

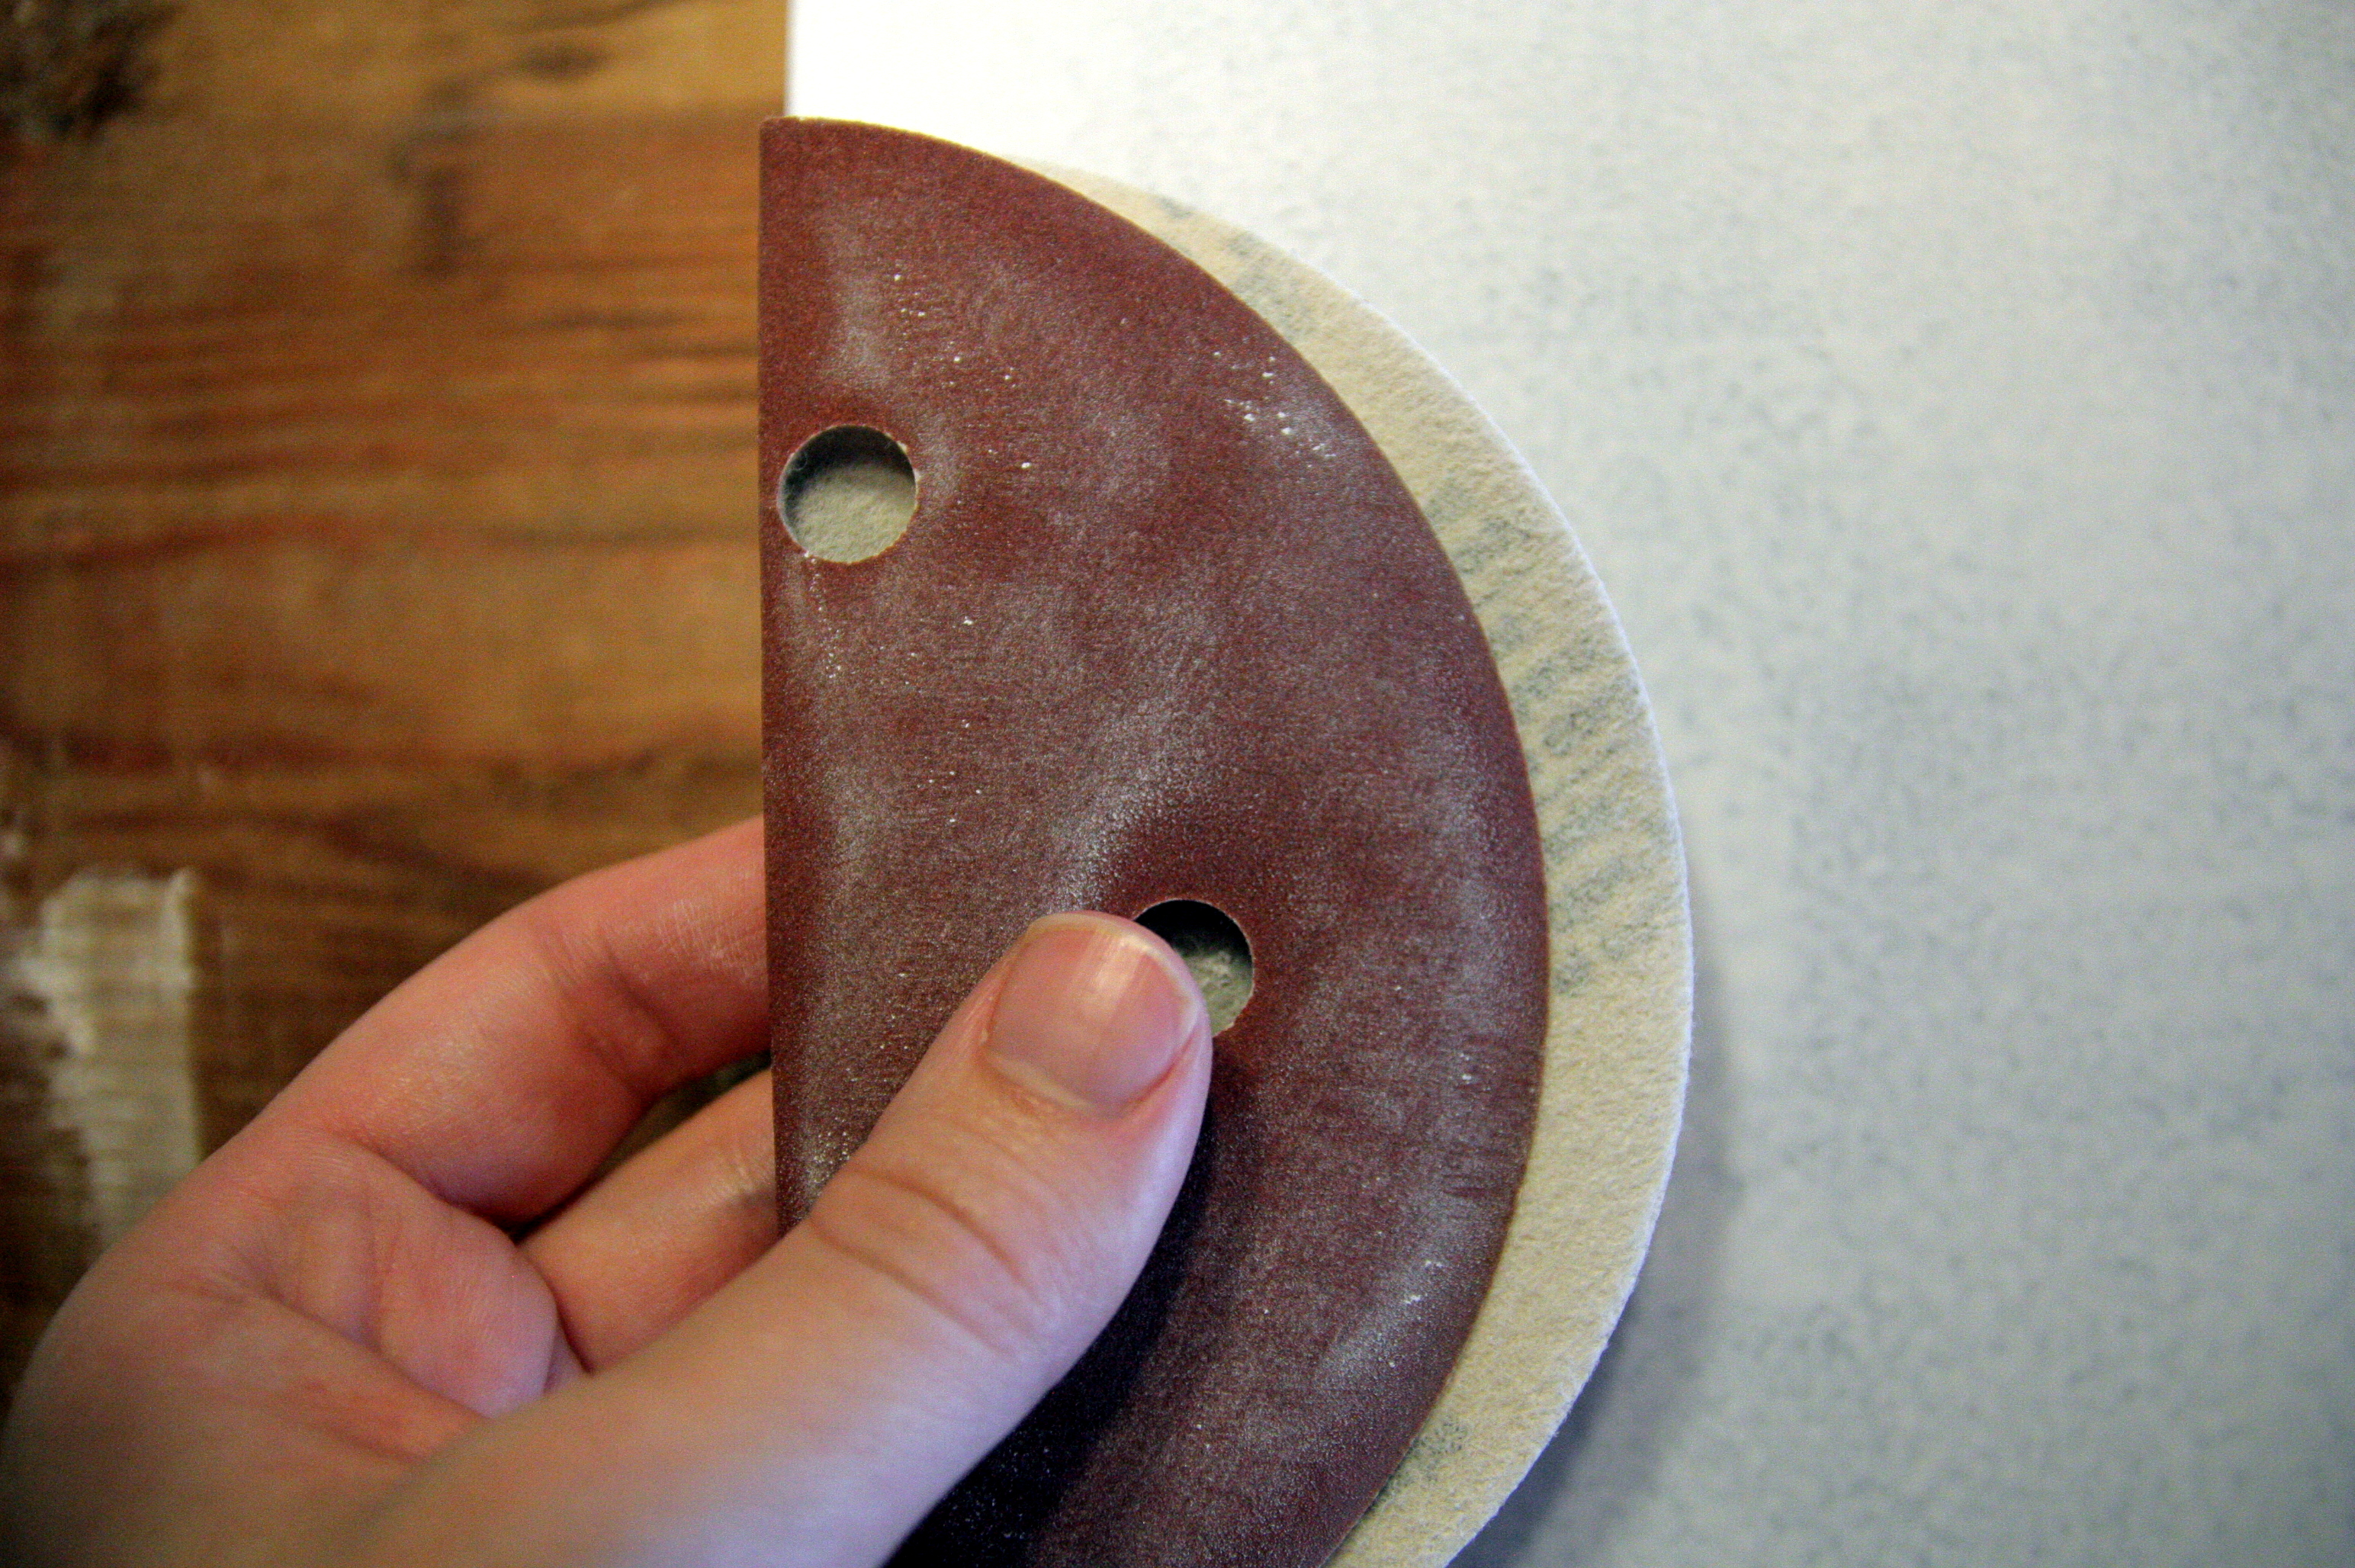
I gave it a day to dry and then gave it a very light sanding.
Finally, the moment we’ve all been waiting for – it was time to whip out that black gold.

Oh yeah.
I continued to use my small roller and painted a single, thin layer of chalkboard paint. Then let it dry 24 hours as per the paint can’s instructions.


Rinse and repeat 2 times. Except don’t rinse.

Three coats and three days later, she was ready…almost.
While poking around and doing “research” on pinterest, I had seen something about “seasoning” a chalkboard. I found a great tutorial here. Basically, you need to smudge chalk all over your board before you draw or write on it for the first time – otherwise it will leave a “ghost” mark and you won’t be able to completely erase it.

To begin, I used the side of a piece of chalk and began to cover the entire board, moving vertically.

Voila!
Then I continued to rub chalk in the opposite direction, going horizontally this time.

To finish, I used a cloth to buff the chalk off.

I love how the chalk brought out a slate like texture in the paint.

Once the “seasoning” was done, I carefully carried the glass inside. I was really worried I wouldn’t love it…


But I did! 🙂 (I feel like it looks like an old school chalkboard that someone made into a coffee table! Why didn’t I do this sooner?!)
The only thing left to do was see if Helena loved it too!
While I was waiting for her to wake up from her nap I christened the table by doodling a blog logo and setting up a little vignette. I probably should have used that time to do the laundry or get started on dinner – but this was more fun.


And before long she was up…

…and doing some doodling of her own! 🙂

We did a little name writing,

heart drawing,


and of course, chalk tasting. 🙂

I think she loves it too.
p.s. A little disclaimer here… While I think our table looks awesome right now, and I hope it continues to do so – the verdict is still out whether it will hold up over time. I will probably use coasters just in case – but I doubt a little spill here or there will hurt it. I will definitely post an update down the road to let you know about wear and tear.
Please share your chalkboard painting projects with me – I’d love to hear all about them! Seriously. I’ve got 3/4 of a can of paint left. Entry wall/pantry door/squirrel outside my window – I’m lookin’ at you. Nothing is safe.
p.p.s. Thank you, Julie for the chalk board paint – thanks to you this project was officially free!

go you! paint that squirrel!
but really, this is awesome. helena has like the coolest mom.
LikeLike
Haha – I just might 😉
Thanks for the love!
LikeLike
so cute! Love it for all those math equations I do on Saturday nights. THANKS!!!
LikeLike
Ha! Yet another use 🙂
LikeLike